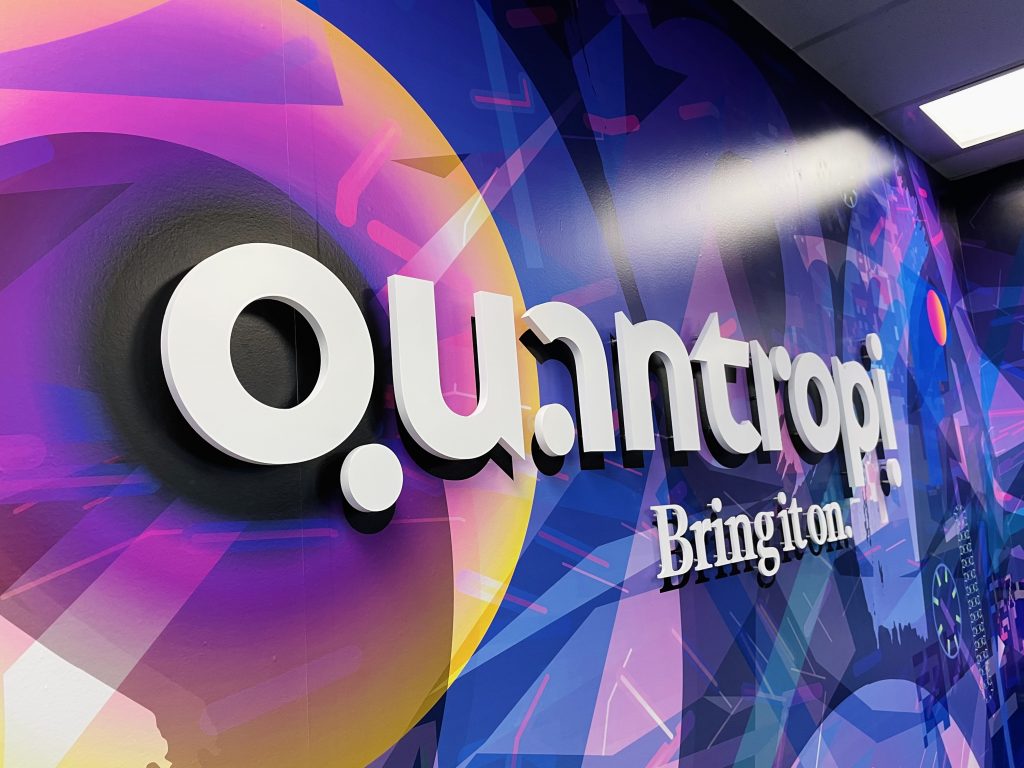
By Eric Chan / EEPMON
Welcome to part 2 of Quantropi x EEPMON behind the scenes! In our last segment, I talked about the mural’s analysis and design phase. Now I will talk about the production and installation.
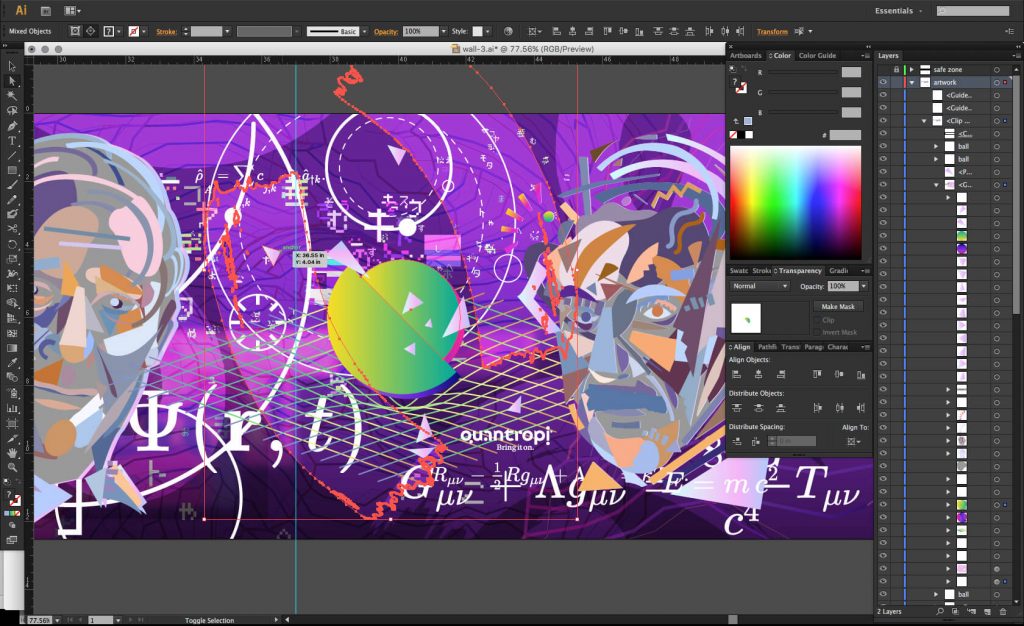
The awesome thing about working in vector graphics is I can create art at any size and not worry at all about resolution issues. That means in theory, I can have a digital art piece that is 1km-by-1km or 1m-by-1m without any loss of graphic quality whatsoever.
In the case of installations like Quantropi’s I find that working at 10% of the intended life-size wall dimension is ideal (most graphic applications don’t support to-size anyway).
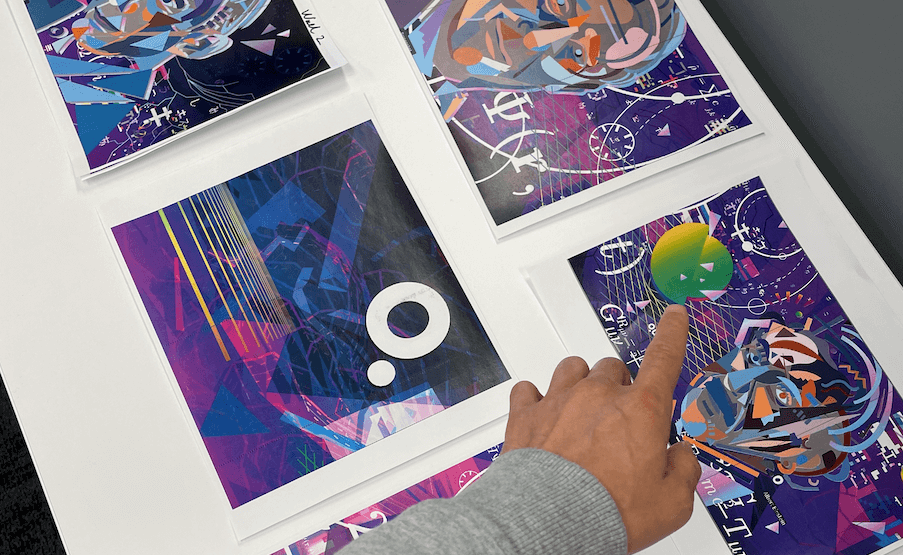
Working closely with local Ottawa signage installers Hawley Signs, they helped to translate my creations into a life size format. This was a very crucial step – every detail needed to be clearly communicated to ensure 1:1 translation. Once I confirmed all the details it was time to push the print button!
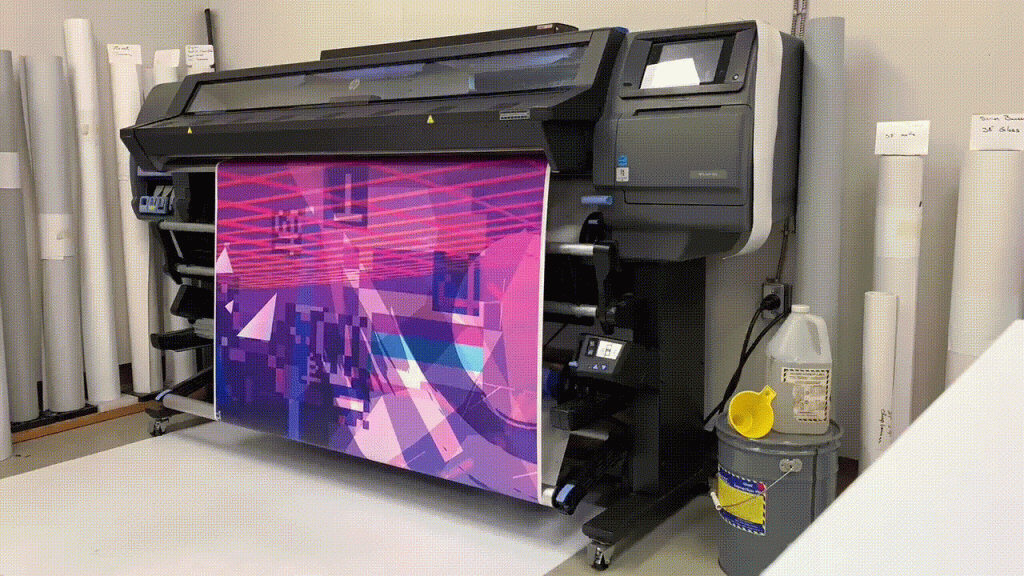
I’m impressed by the colour gamut produced by the printers. Because the Quantropi x EEPMON murals are more on the blues and purples, I find in general that printers have a harder time to reproduce these colours.
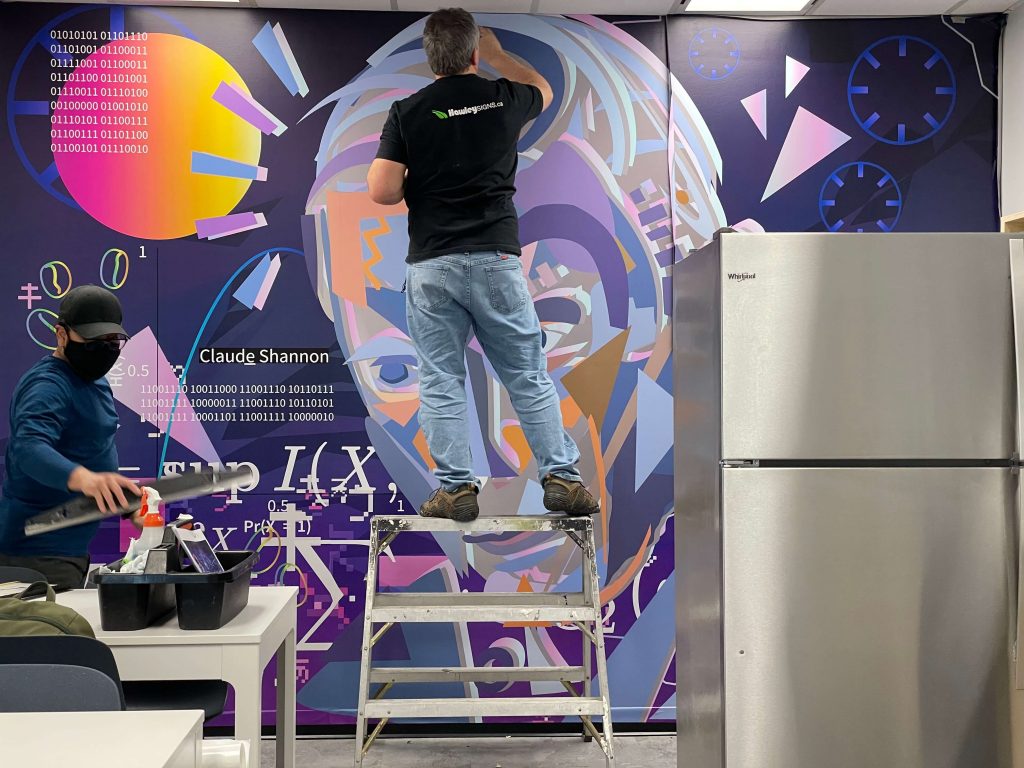
Now it was time for the actual installation. Because there were so many details, the Hawley Signs team had to ensure that the graphics matched the edges otherwise the mural would appear inconsistent. I think it was a good challenge for them and with flying colours (no pun intended) they delivered!
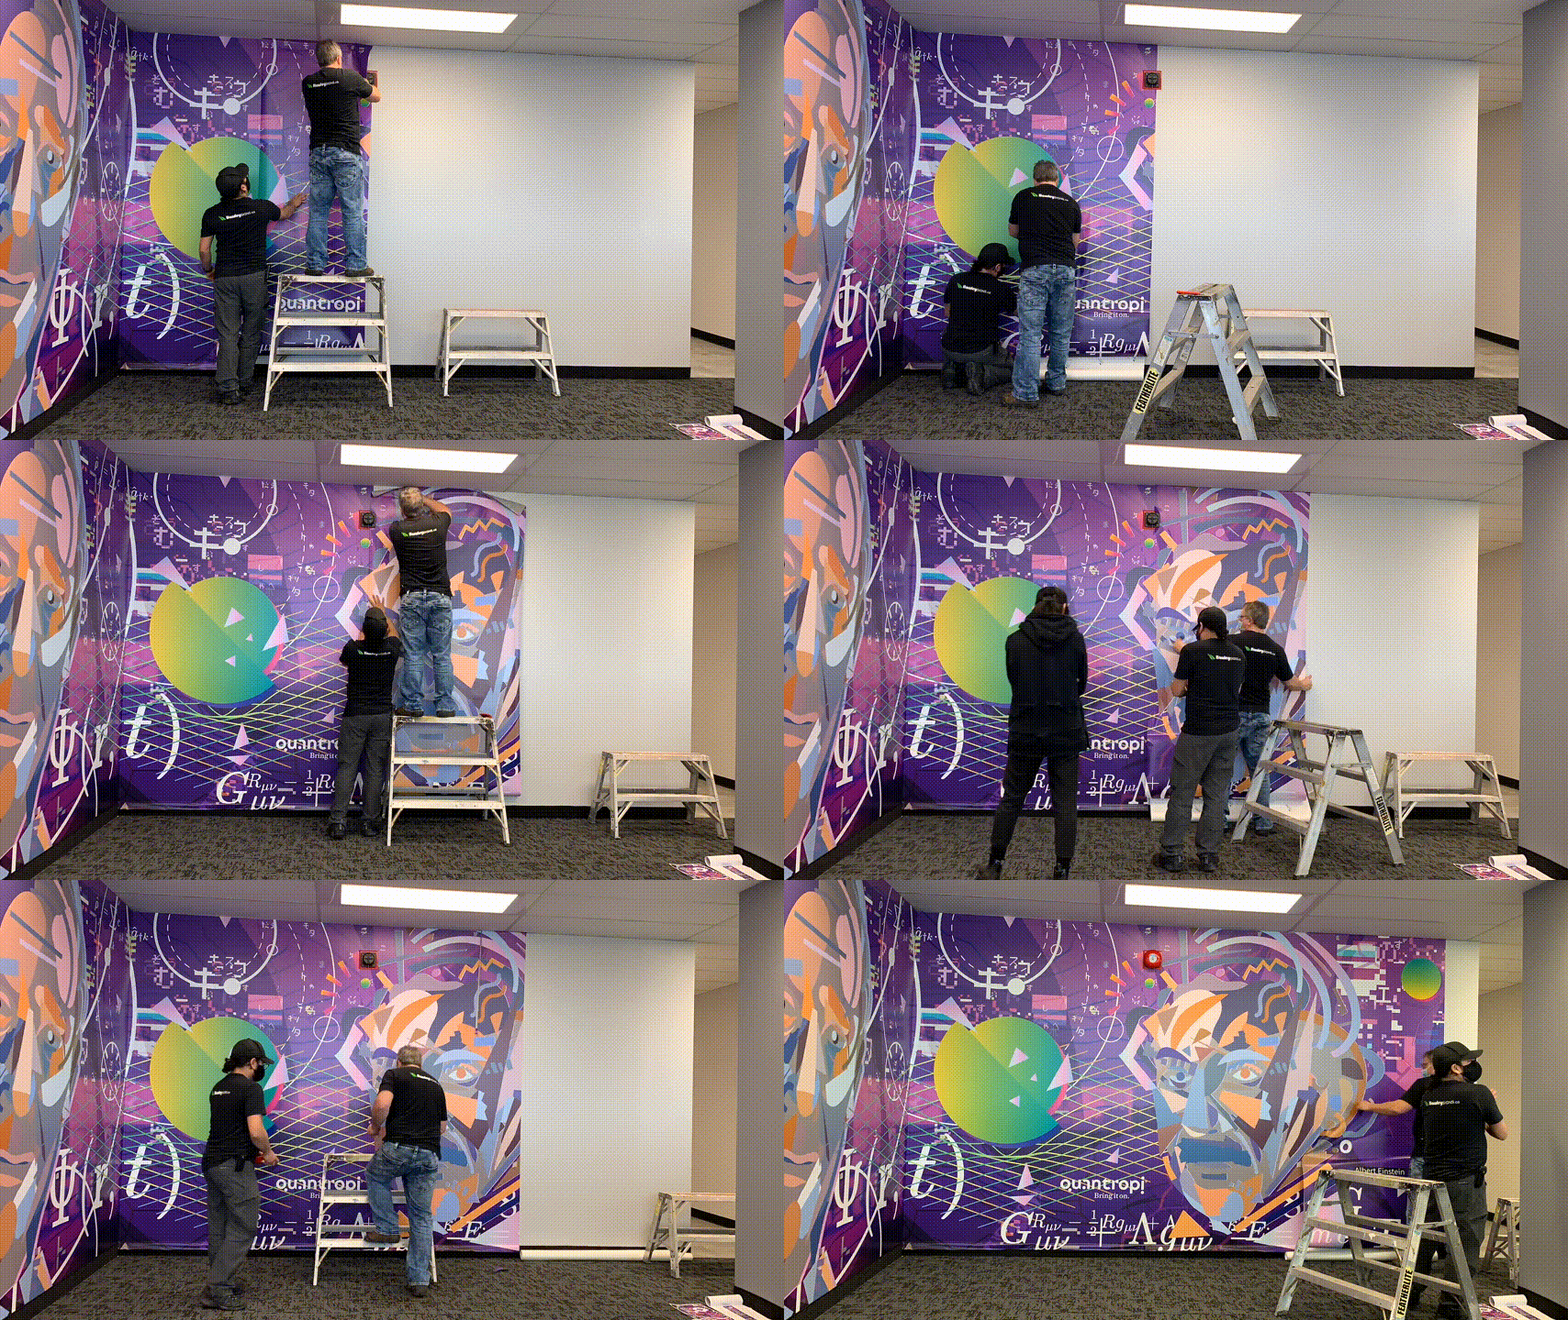
I want to thank Hawley Signs for their attention to detail and good work. Please find below more photos of the installation process…
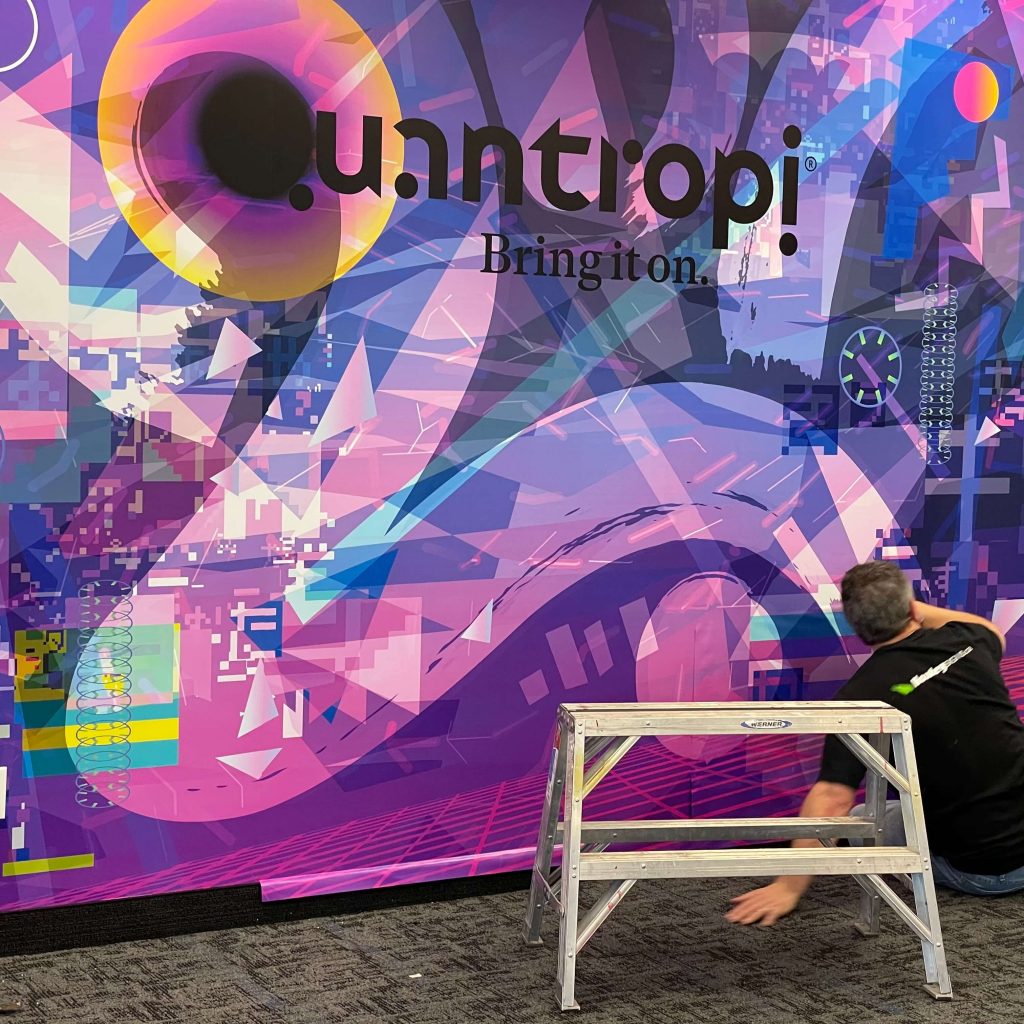
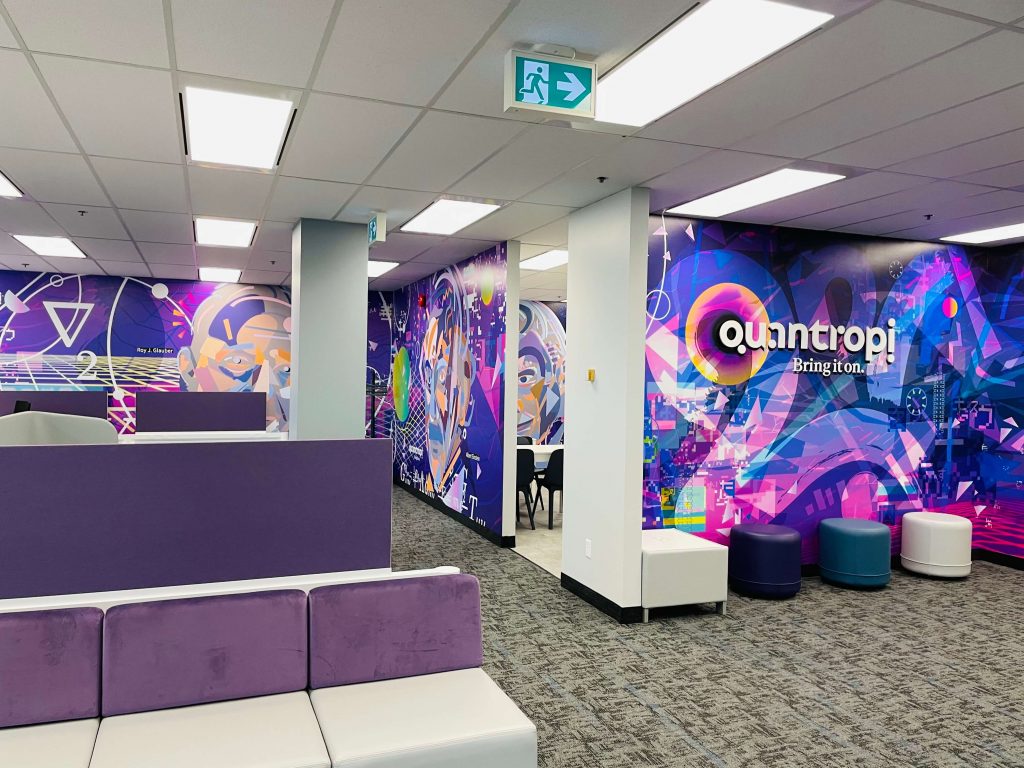
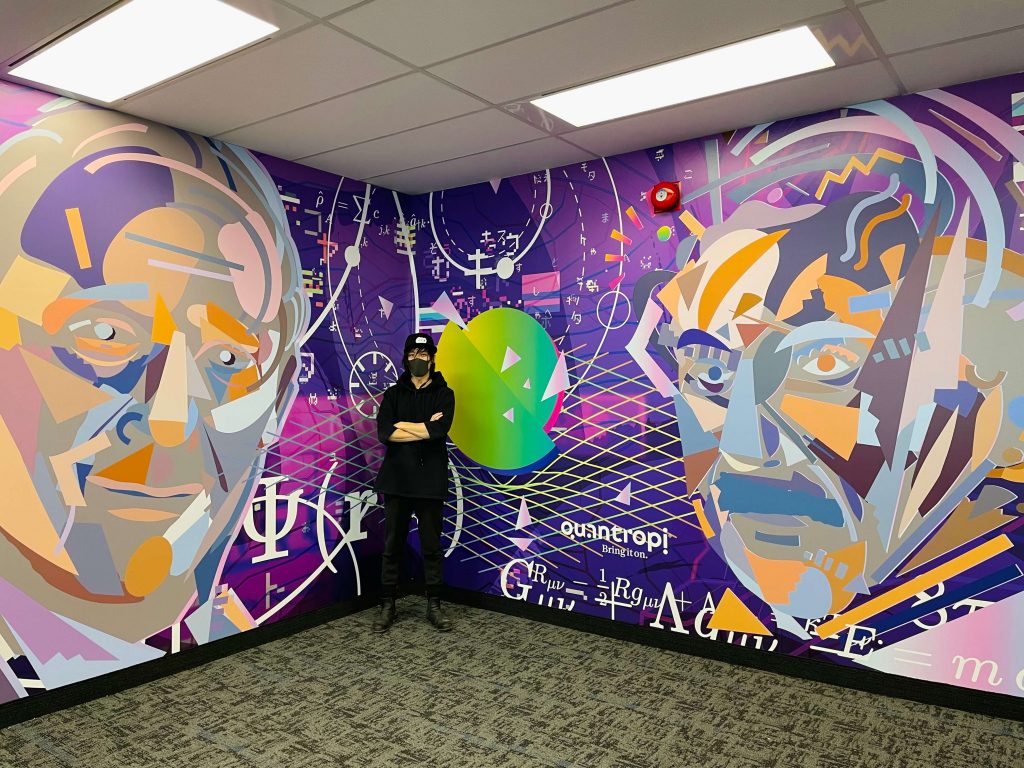
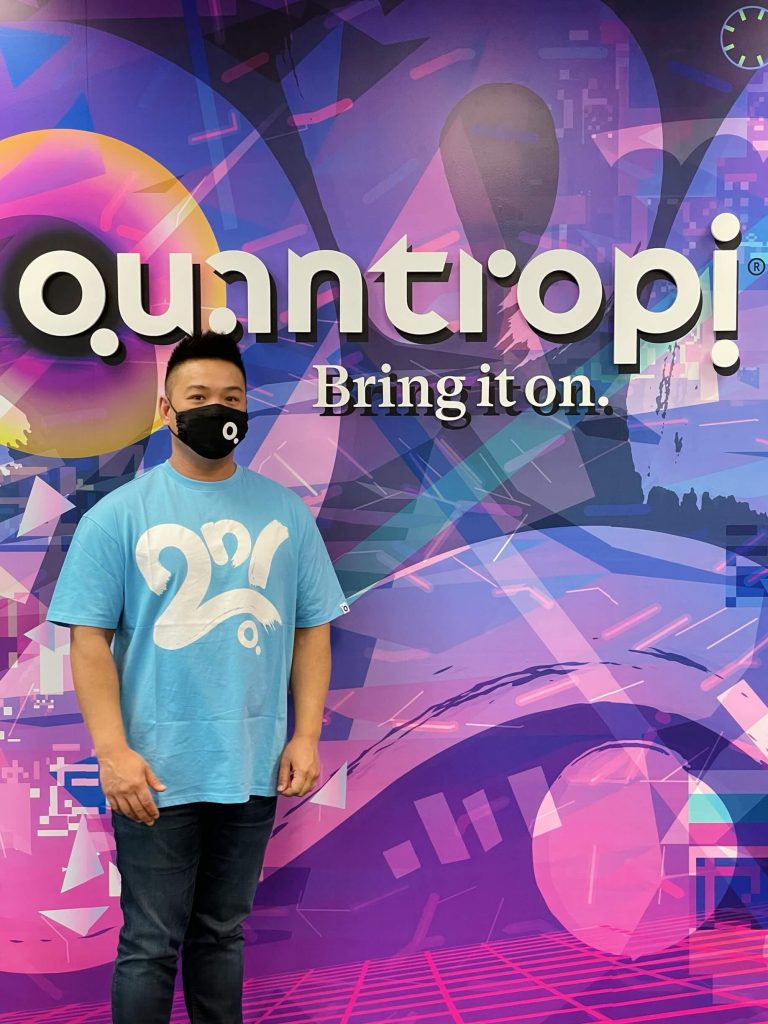
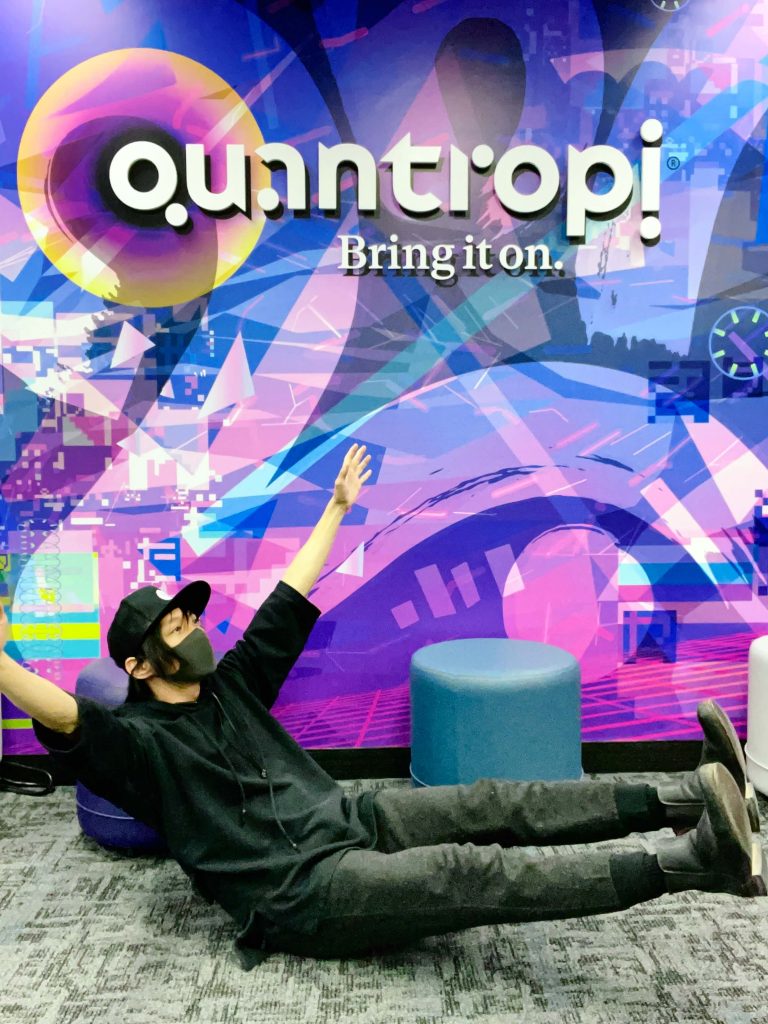
A long time coming, we at Quantropi proudly present you the office murals below. Enjoy the photos!
Please follow EEPMON on Instagram!

